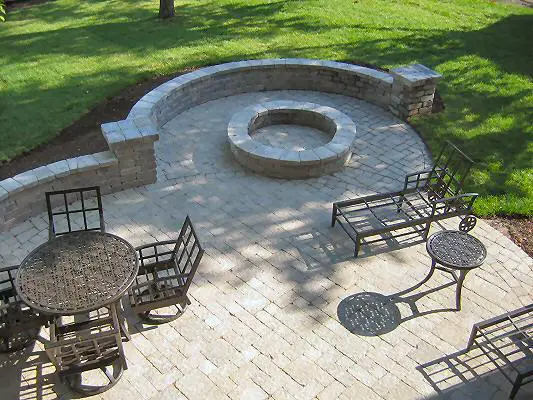
Building a patio is a great do-it-yourself project that can easily be completed in a weekend. The typical homeowner can build a patio in their backyard and add value to their home. By following these step-by-step instructions on how to build a patio you will be able to build a professional looking patio.
Materials Needed to Build a Square or Rectangular Patio
Here is a list of the materials needed to build a patio.
- Shovel and mattock
- Landscape fabric
- Stakes and string
- 2×6 boards
- Galvanized nails
- Gravel
- Screed
- Sand
- Pavers
- Expansion joint materials
- Broom
8 Steps to Build a Patio
The complete work of building a patio can be divided into 8 steps. Each steps are described in brief below.

Prepare the Bed
Roughly mark off the size and shape of the patio. Be sure to check your accuracy and as you determine the exact size of the patio, you will need to plan for number of pavers that you will be using. Make sure that there is enough room for all the pavers within the pattern that you want to incorporate and allows for a little bit of space between each of the pavers.
After you have laid out the size and shape of the patio, use a mattock and shovel to dig out the area for the patio. It needs to be about 5 ½ inches deep.
Cut the Landscape Fabric
Measure a piece of landscape fabric to fit the space dug out for the patio. Landscape fabric prevents weeds from coming up through the gravel and into the patio.
Find the First Corner
Some think that this is the hardest part of building a patio. Lay out a 2×6 perpendicular to the house and then cut the board so it ends where the edge of the patio will end. If the board is already too short, then you will have to lay out two boards to equal the space. Align the board using the string guides and put stakes on the outside of it to hold in place. Nail the stake to the board for stability.
Build the Frame
Keep building the frame using the 2x6s. Make sure everything is square before you nail the boards together. If the frame is not square then the pavers will not fit correctly into the space for the patio. Set the stakes against the outside of the boards every couple of feet, nail them in place.
Gravel It
Place a piece of expansion joint material between the patio area and the house. Pour enough gravel to cover about 1 inch throughout the patio area. Construct a screed with the scrap lumber. Starting at the house, scrape the gravel until is it level from side to side but has a slight slope toward the end of the patio away from the house.
Prepare the Sand Bed
Add a layer of sand on top of the gravel. The general rule of thumb to determine the depth of sand needed subtract the thickness of the pavers from 4 ½ inches. Using a second screed that is notched to the depth of the pavers, level the sand making sure that the sand also slopes away from the house.
Add the Pavers
First arrange the pavers into the pattern you want, make sure you fit the snugly together to ensure that they will not roll or shift. Run a piece of string from end to end of the patio. This will be used as a guide for you to stay in a straight line. Always keep your knees on the sand and not on the newly laid pavers. The pavers will not be stable until the area is completely filled and tamped down.
Add More Sand
Adding more sand once the pavers are set will add stability to the patio. Toss handfuls of sand over the entire area. Using a broom, work from one end to the other gently sweeping the sand into the cracks between the pavers to fill any gaps and stabilize the pavers. Spray the entire new patio with a light mist to settle the sand. Allow the sand to completely dry then add another layer of sand, repeating the entire process. After about a week, you will want to add more sand and repeat the process again to ensure that the pavers are settling correctly and are not rocking.
