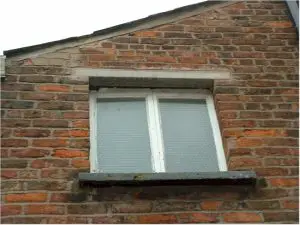
Window lintels are also called as headers, which often consist of wooden timber or steel beam that cope with the load of the walls and roof above the window opening. Installing window lintel is often considered as a daunting task. To perform this with precision, it is always a good thing to hire a professional service provider. However, if you are a ‘Do-It-Yourself’ enthusiast, then you need some basic understanding of the carpentering job to conclude the task of installing window lintel.

Here is a step by step process to make you understand how window lintels are installed:
Initial Process – Taking Measurements
The initial process of installing window lintel starts with taking various measurements. Before jumping into the task, taking measurement accurately is important for concluding the job with precision. First the height of the header has to be measured at the rough window opening. Next, you should continue measuring the subfloor of the window. After that, determine the size of the framing lumber that will be used as header. The standard measurement for this is typically, 4 inch X 6 inch. However, depending upon the size and height of the windows, it may change.
Fixing the Window Lintel
To fix the window lintel, start with positioning the header in the opening. To attach the frame you need framing nails and hammers. Use pairs of nails at the upper end and also use a couple of them at the lower end for profound installation of window lintel.

You can watch the video below on concrete lintel making and installation:
Cost for Window Lintel
Window lintel cost varies according to the dimension of the window openings and the materials you have chosen for lintel. If you choose an aluminum sheet or standard wooden frames, it would be affordable for you. However, choosing high quality steel or high quality wooden frames would cost you higher. Additionally, if you choose a service provider for installing window lintel, you have to consider the labor charge in your whole budget for the project.
