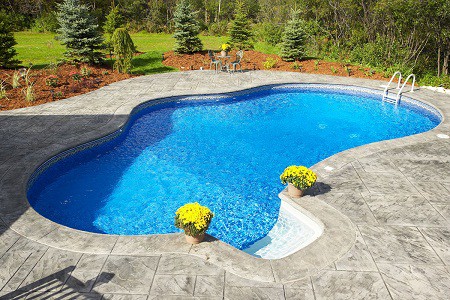
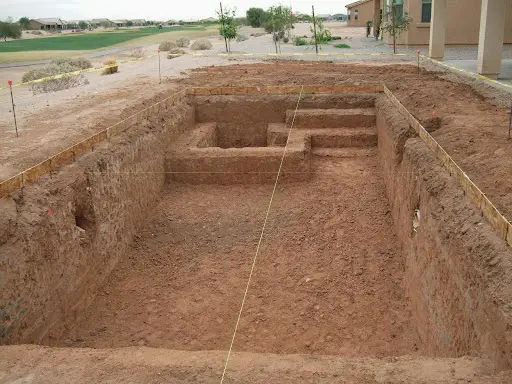
Excavating a swimming pool takes a lot of work, heavy machinery and knowledge of how to excavate a pool. Most people will hire a professional to complete the pool excavation. When hiring a pool excavator be sure to thoroughly check their business out and make sure that they possess the right credentials.
Swimming Pool Excavation: Step by Step Guide
Before starting pool excavation, you should know what you are doing and if it is the right process. So here are step by step procedure described below to give you a clear idea about pool excavation process.
Step 1: Permits and Permission
Prior to beginning the excavation acquire all necessary permits from your county to ensure that you are in compliance. If you will be encroaching upon a neighbor’s property or you need to use part of their property to access the area for the pool, be sure to get their permission first. It is always best to get written permission. Post all permits prior to starting any work.
Step 2: Underground Cables
Prior to doing any digging, contact the electric company and have them come to the site to mark where underground cables are located. If you have underground cables for television or internet, be sure to also contact that company to mark where those cables are located.
Step 3: Pool Layout
Not all swimming pools are the same size or shape. The layout sub-contractor will have to paint a guide for the excavators so they dig the appropriate dimensions. Make sure the level that the top of the pool will finish is clearly identified. You can check this beautiful new invention hidden water swimming pool.

Step 4: Digging
When able, use the biggest machine possible as it will move the dirt with more efficiency. By being more efficient, it should also be less costly as it takes less time to excavate the area. Using a dumpy level or water level will help check the depth of the excavation at various points along the floor. It is best to dig from the deepest point to the shallowest. The mark-out for the shape of the pool needs to be six inches outside the finished internal line of the pool.

Step 5: Remove Dirt Dug
Never leave the dirt that has been dug from the pool area on site. The only exception is if you have another immediate use for the dirt. By leaving the dirt in the yard, it will be in the way of the excavator and those installing the actual pool. The work site will not remain clean with piles of dirt around.
Step 6: Smooth the Walls
Once the digging and dirt removal are finished, it is time to smooth out the floor and walls so that pool will sit evenly in the excavated spot. Not smoothing out the floor and walls will cost you time and energy when the actual pool arrives as it will not fit correctly into place.
Step 7: Pool Placement
Once the excavation is complete, then the proper enforcers will come out and inspect the area. Once the safety inspector signs off on the project at this phase, it is time to bring in the actual pool for proper placement.
Finally, pool excavation work needs some expertise and it is best to do the construction work by a professional person.
